
If you are a frequent reader of my articles, you are no doubt aware that I am constantly striving to teach you what it takes for you to attain more speed while skating. And hopefully, by now, you are beginning to master some of these techniques for speed. However, now that you are skating faster, the NEW question must be· Robby, now that I’m getting all this speed, how exactly is it that I STOP? which, of course, is a very logical question, and one that we will attempt to answer for you. Let’s examine some methods that will improve your ability to perform the Hockey Stop:
THE FORWARD STOP
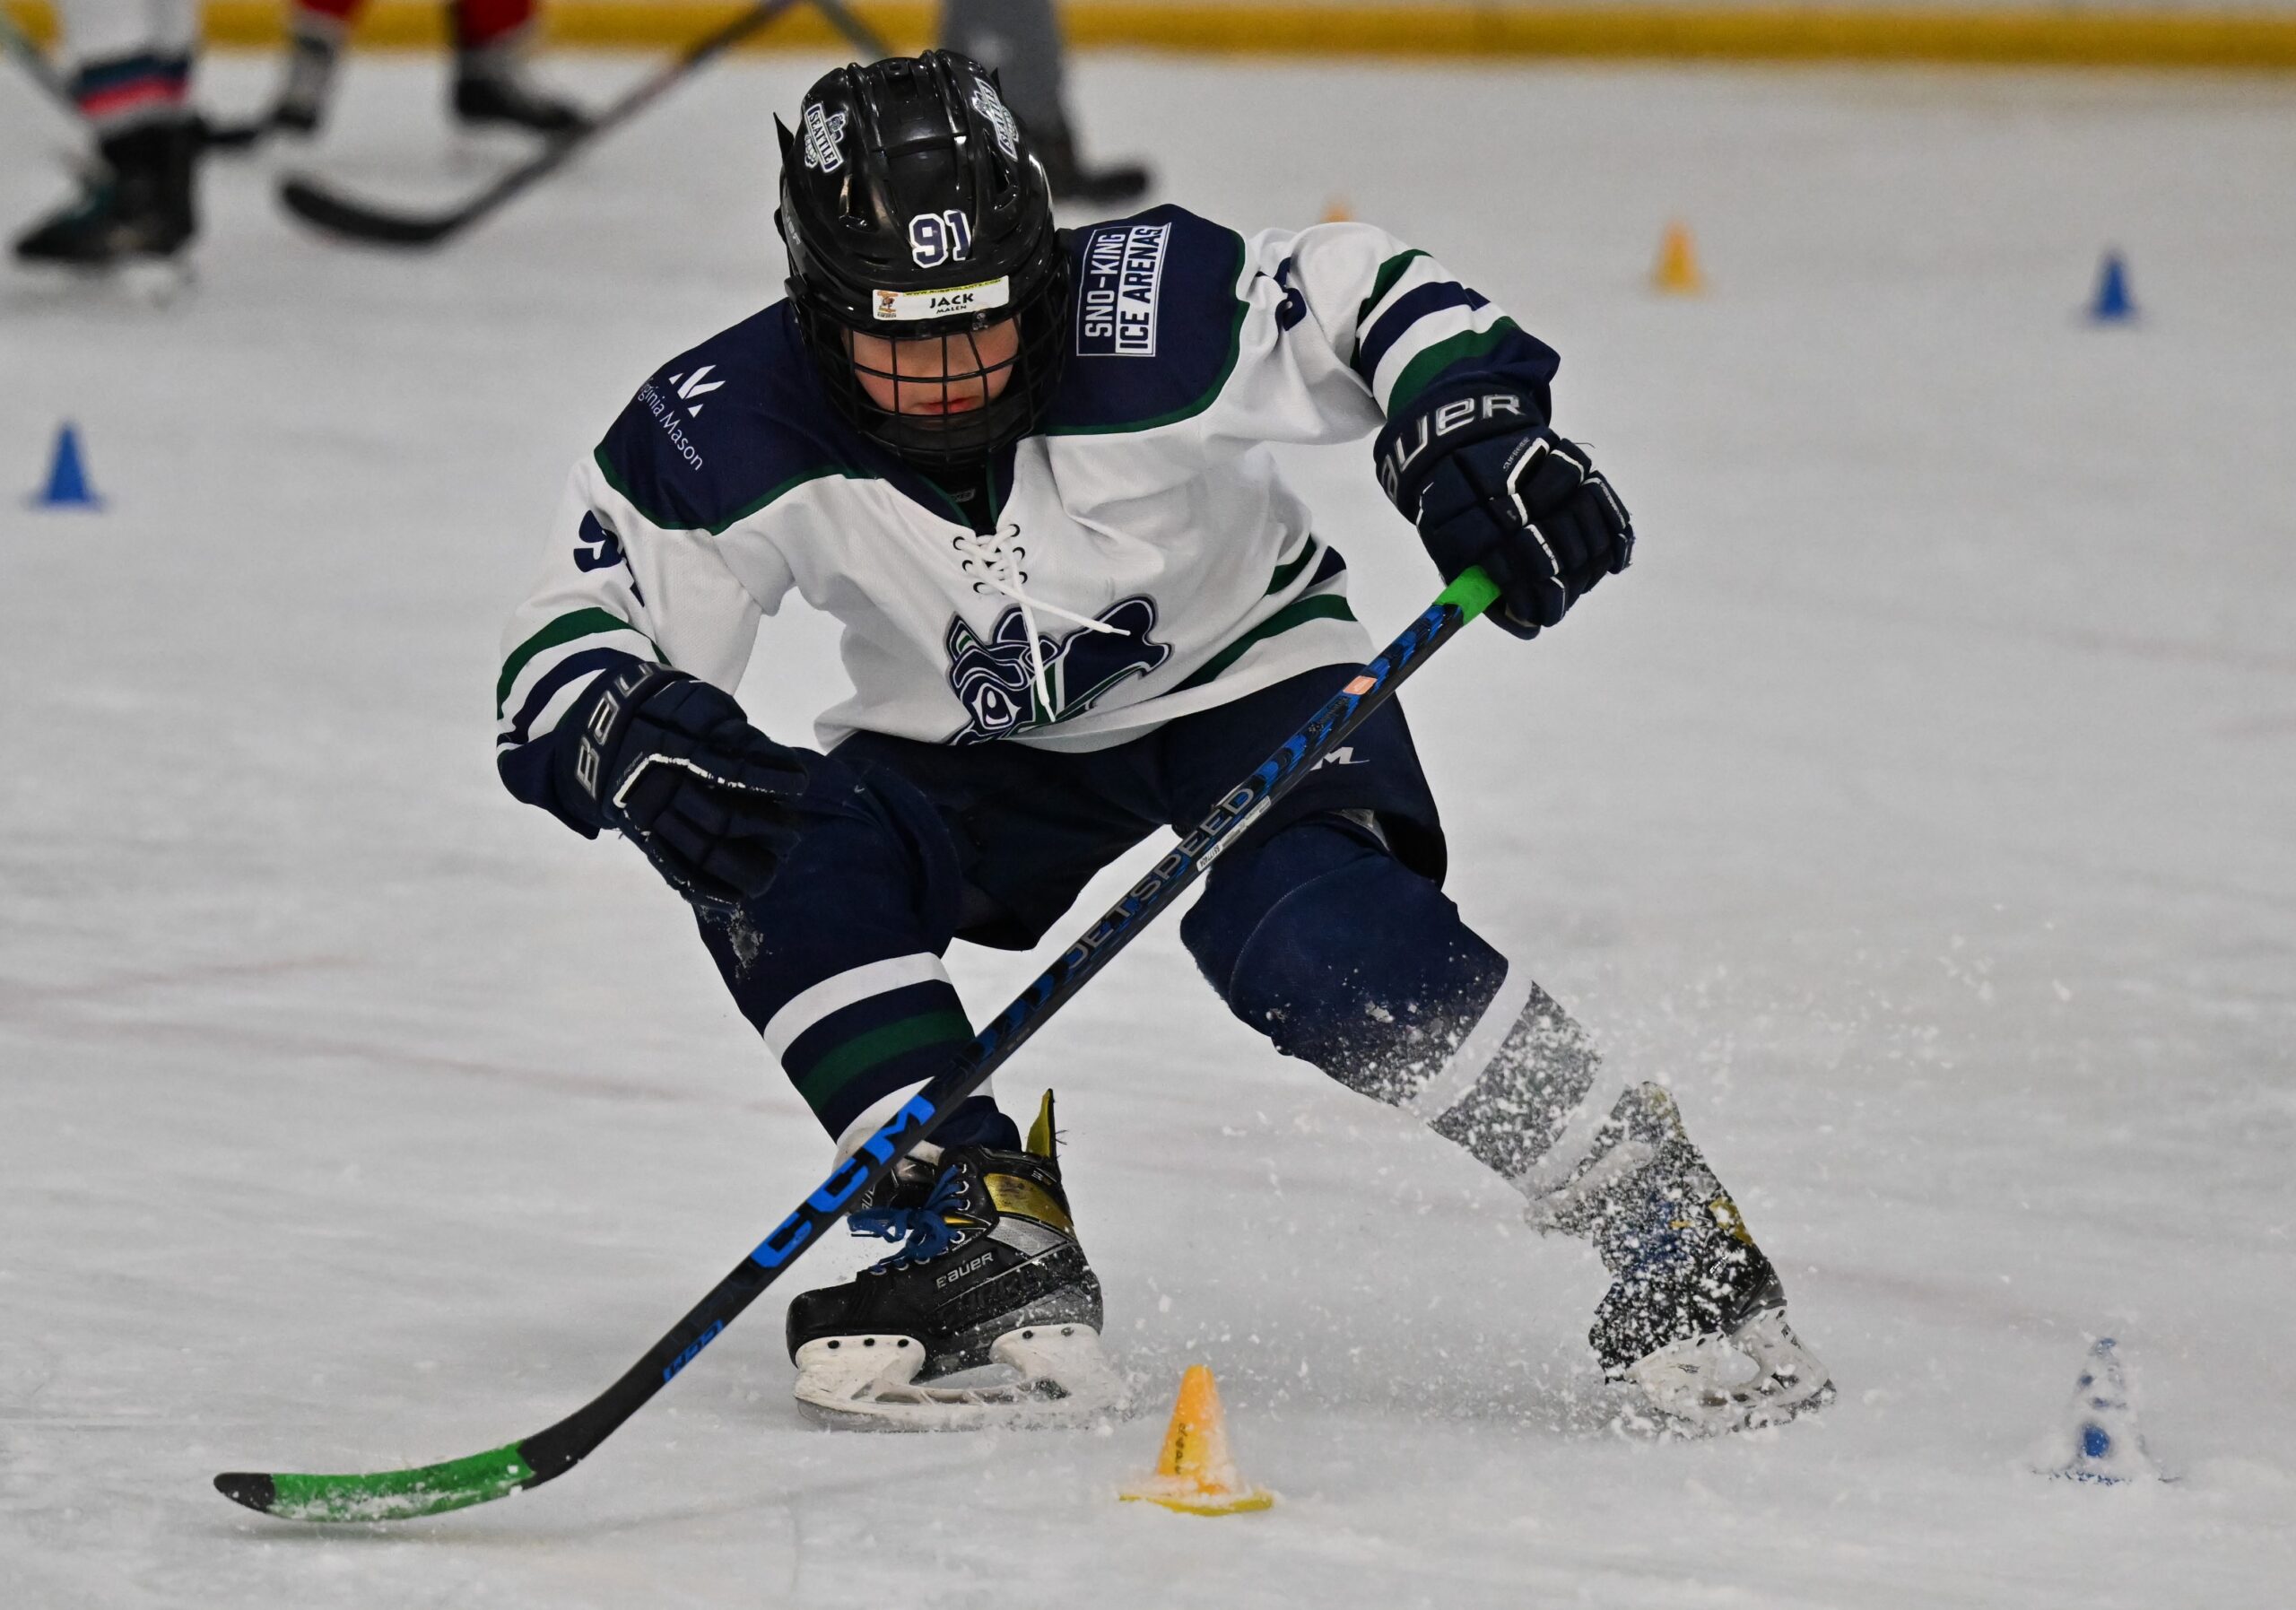
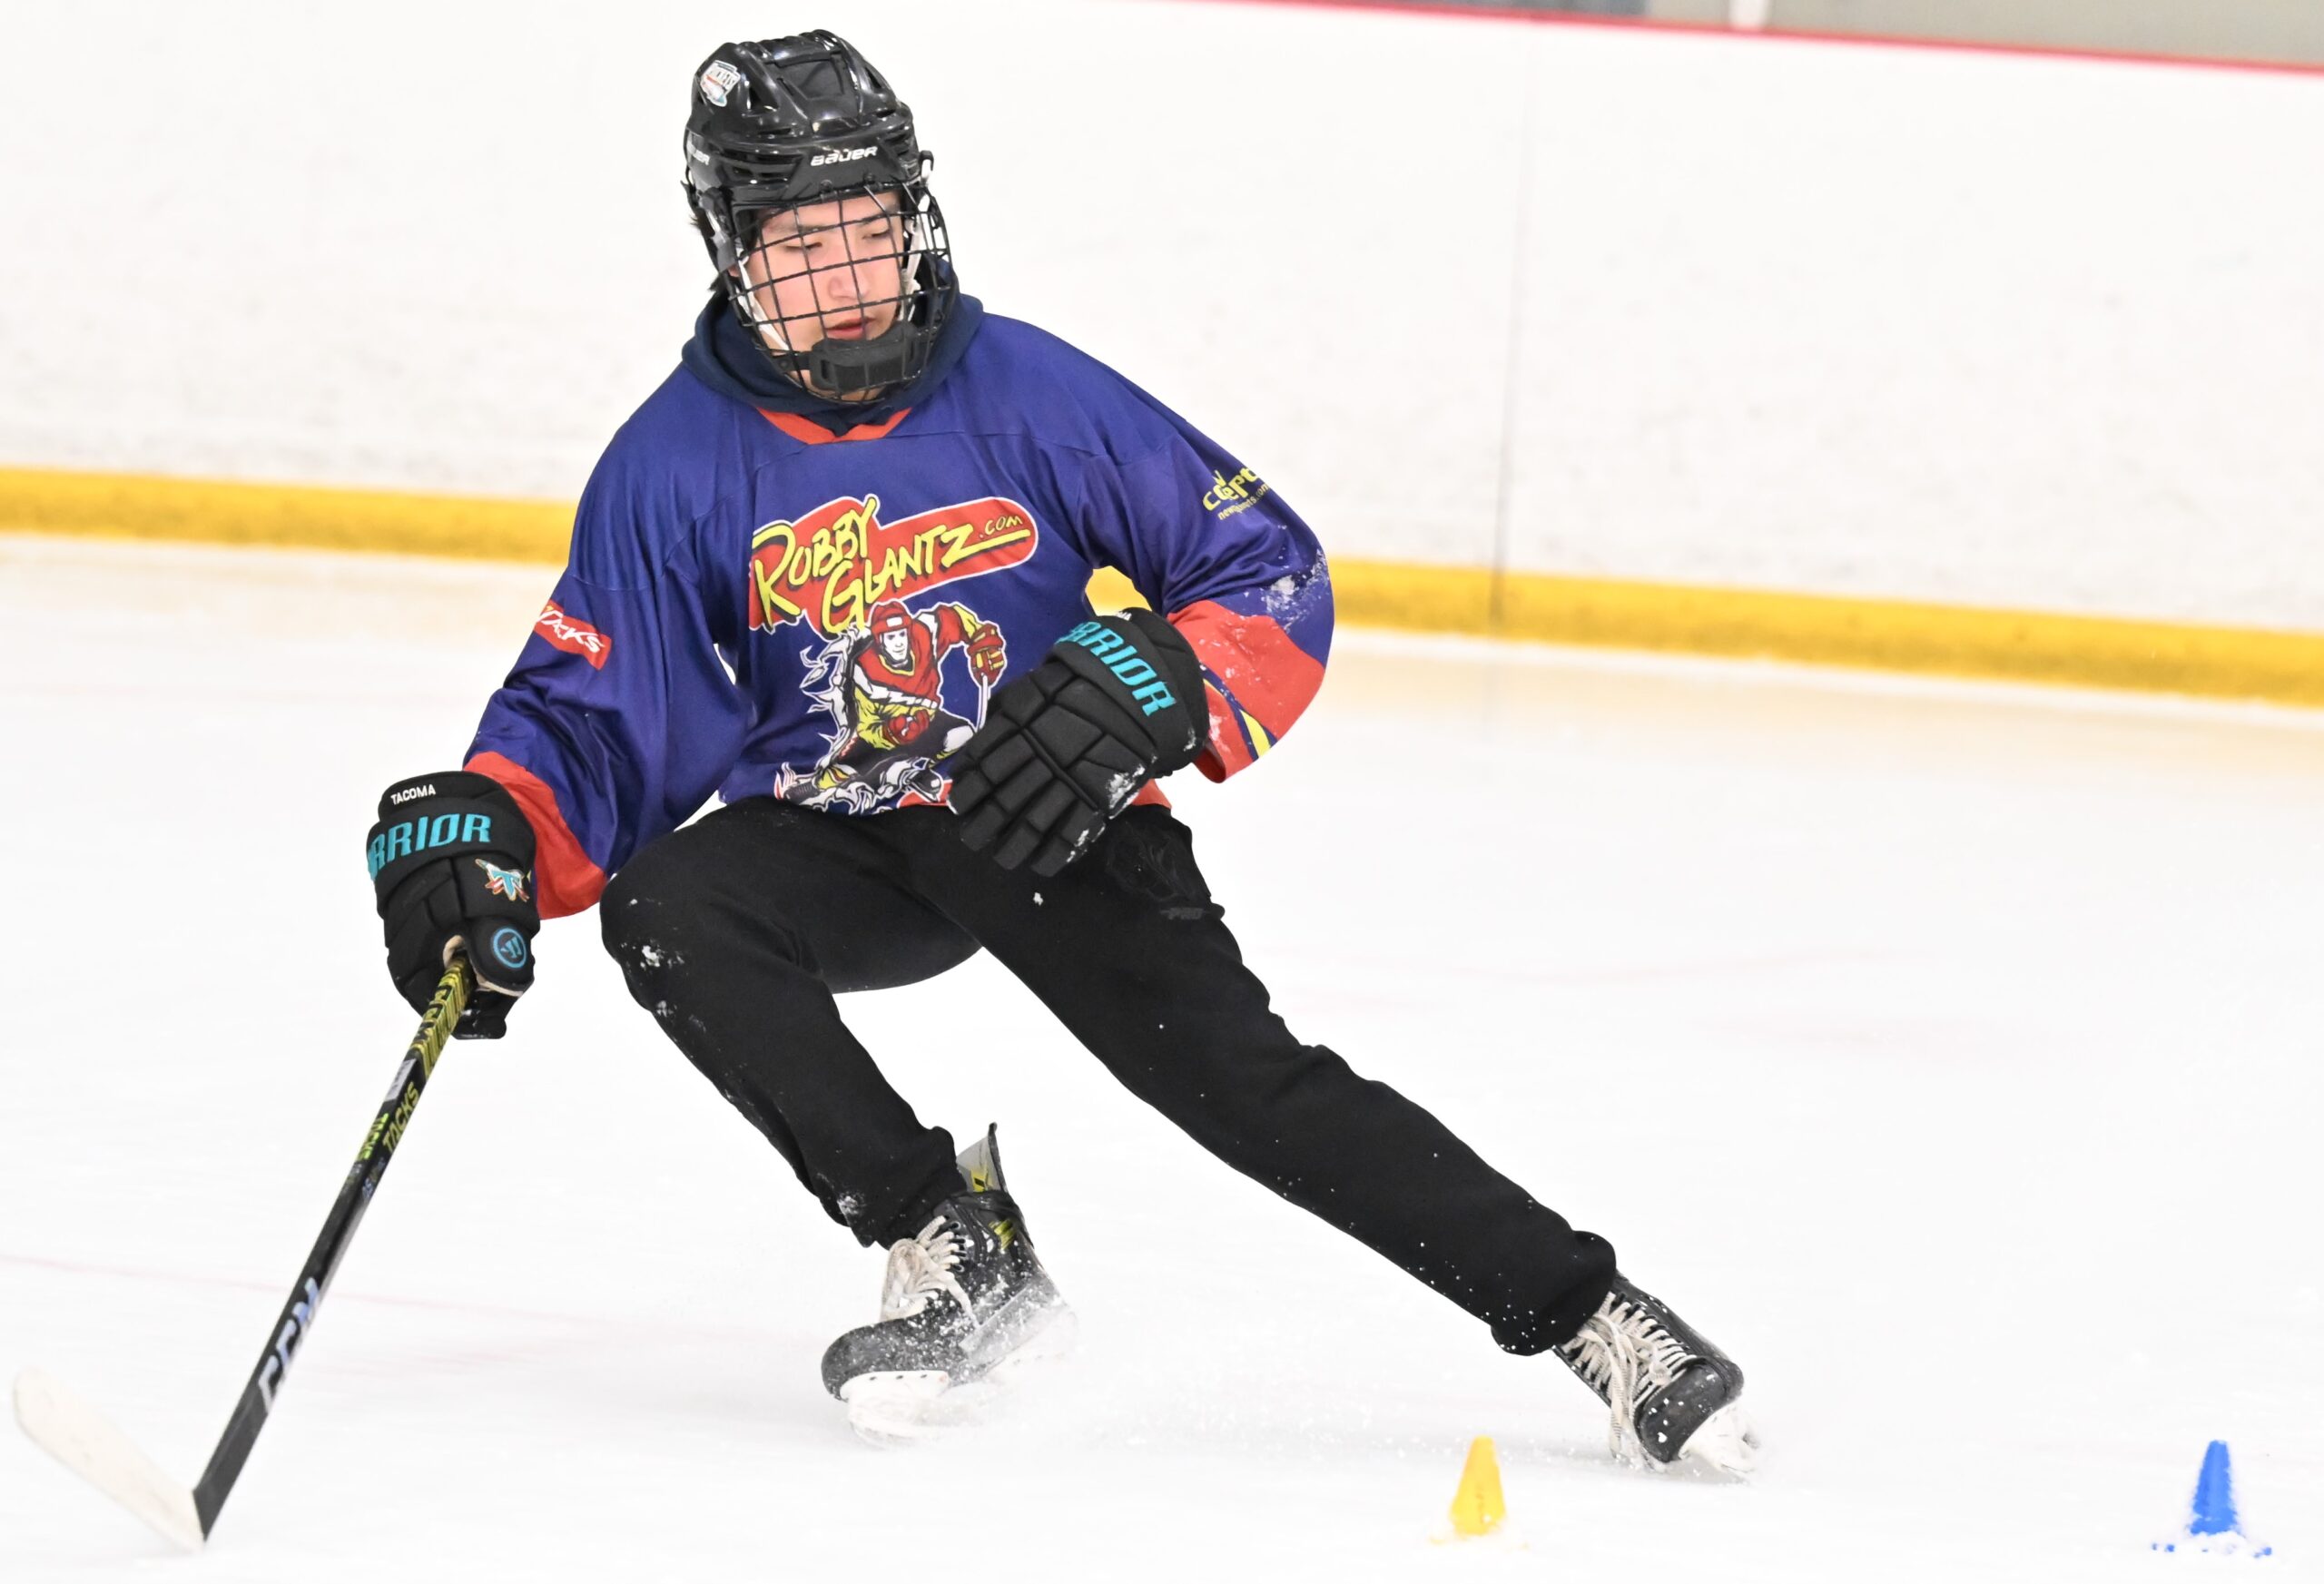
In Ice Hockey, as you are surely aware, the change of direction using the quick stop (both forward and backward) is a vital fundamental. You must consistently work on and practice this very difficult skill, no matter what your level of play, in order to see marked improvement. As well, you are going to need to do your share of falling down when practicing. But do not look on this as a failure, in fact just the opposite, this means that you are getting closer to stopping properly now that you are breaking out of your comfort zone.
Tips:
- Lean forward so that the back of your helmet is out in front of your knees…Bend your knees so deep, so that they are at least 2” over the toes.
- Keep your eyes forward and maintain strong core muscles (crunch your stomach)
- Be sure to turn your hips 90 degrees (a 1-turn) from the direction you were traveling, with both skates turning at the same time.
- The outside skate slides along the top of the ice on an inside edge, with the snow coming off the middle-front part of the skate (the ball of your foot).
- The inside skate trails the outside one and also slides on top of the ice but on an outside edge. Again, the snow should be coming off the middle-front part of the edge.
- Your feet should be wide and staggered at this point (not parallel), with the inside foot in front of the outside foot by a full skate length or more.
- Your feet should be wide apart from each other (at least shoulder distance) and also wide as in staggered or uneven.
- The bodyweight should be distributed with the greater percentage to the outside skate (inside edge). If not, and you have too much weight over the inside foot (outside edge), than the skates will slide out from under you causing you to fall or lose your balance.
- Be sure to counterbalance the stop with your upper body, by keeping your shoulders parallel to the ice, rather than leaning or dropping the inside shoulder down towards the ice.
Skating Imagery:
When performing the hockey stop, it is important that you think of it more as a Hockey Slide first, and a Hockey Stop second. In other words, do not put the cart before the horse. Too many players think they can come to a screeching stop as if they are changing directions on a basketball court, for example. However, when you watch the most skilled stoppers in the N.H.L., such as Sidney Crosby or Connor McDavid, in slow-motion, you will realize that they actually slide there skates along the top of the ice before they come to a stop. And finally, when teaching the art of the Hockey Stop, inevitably someone asks the question about why one stopping side is stronger than the other (it should be noted that every pro player I have ever worked with has a weaker side, not only when stopping, but turning, etc., as well). The only way we have found to make your bad side stronger is to work harder on it and not to ignore it just because it becomes frustrating. But to take that one step further, really try to focus and concentrate on exactly what it is you do on your good side that allows you to perform the maneuver well. Once you have the steps sorted out in your head, it should then be easier for you to transfer those same techniques to your weaker side, as well.
By Robby Glantz